

Plan a route
The trail planner lets you draw a new route directly on the map, anchor by anchor. Open it via the plus button → Open trail planner. Routing runs on your instance, so the planner needs a connection.
Travel profiles
Section titled “Travel profiles”Before you start, pick a travel profile: Hiking or one of the biking profiles (Biking / Hybrid, Mountain, Cross, Road). The profile determines which paths the router prefers and pre-selects the trail’s category when you save. You can change it later from the planner’s Settings tab.
Drawing a route
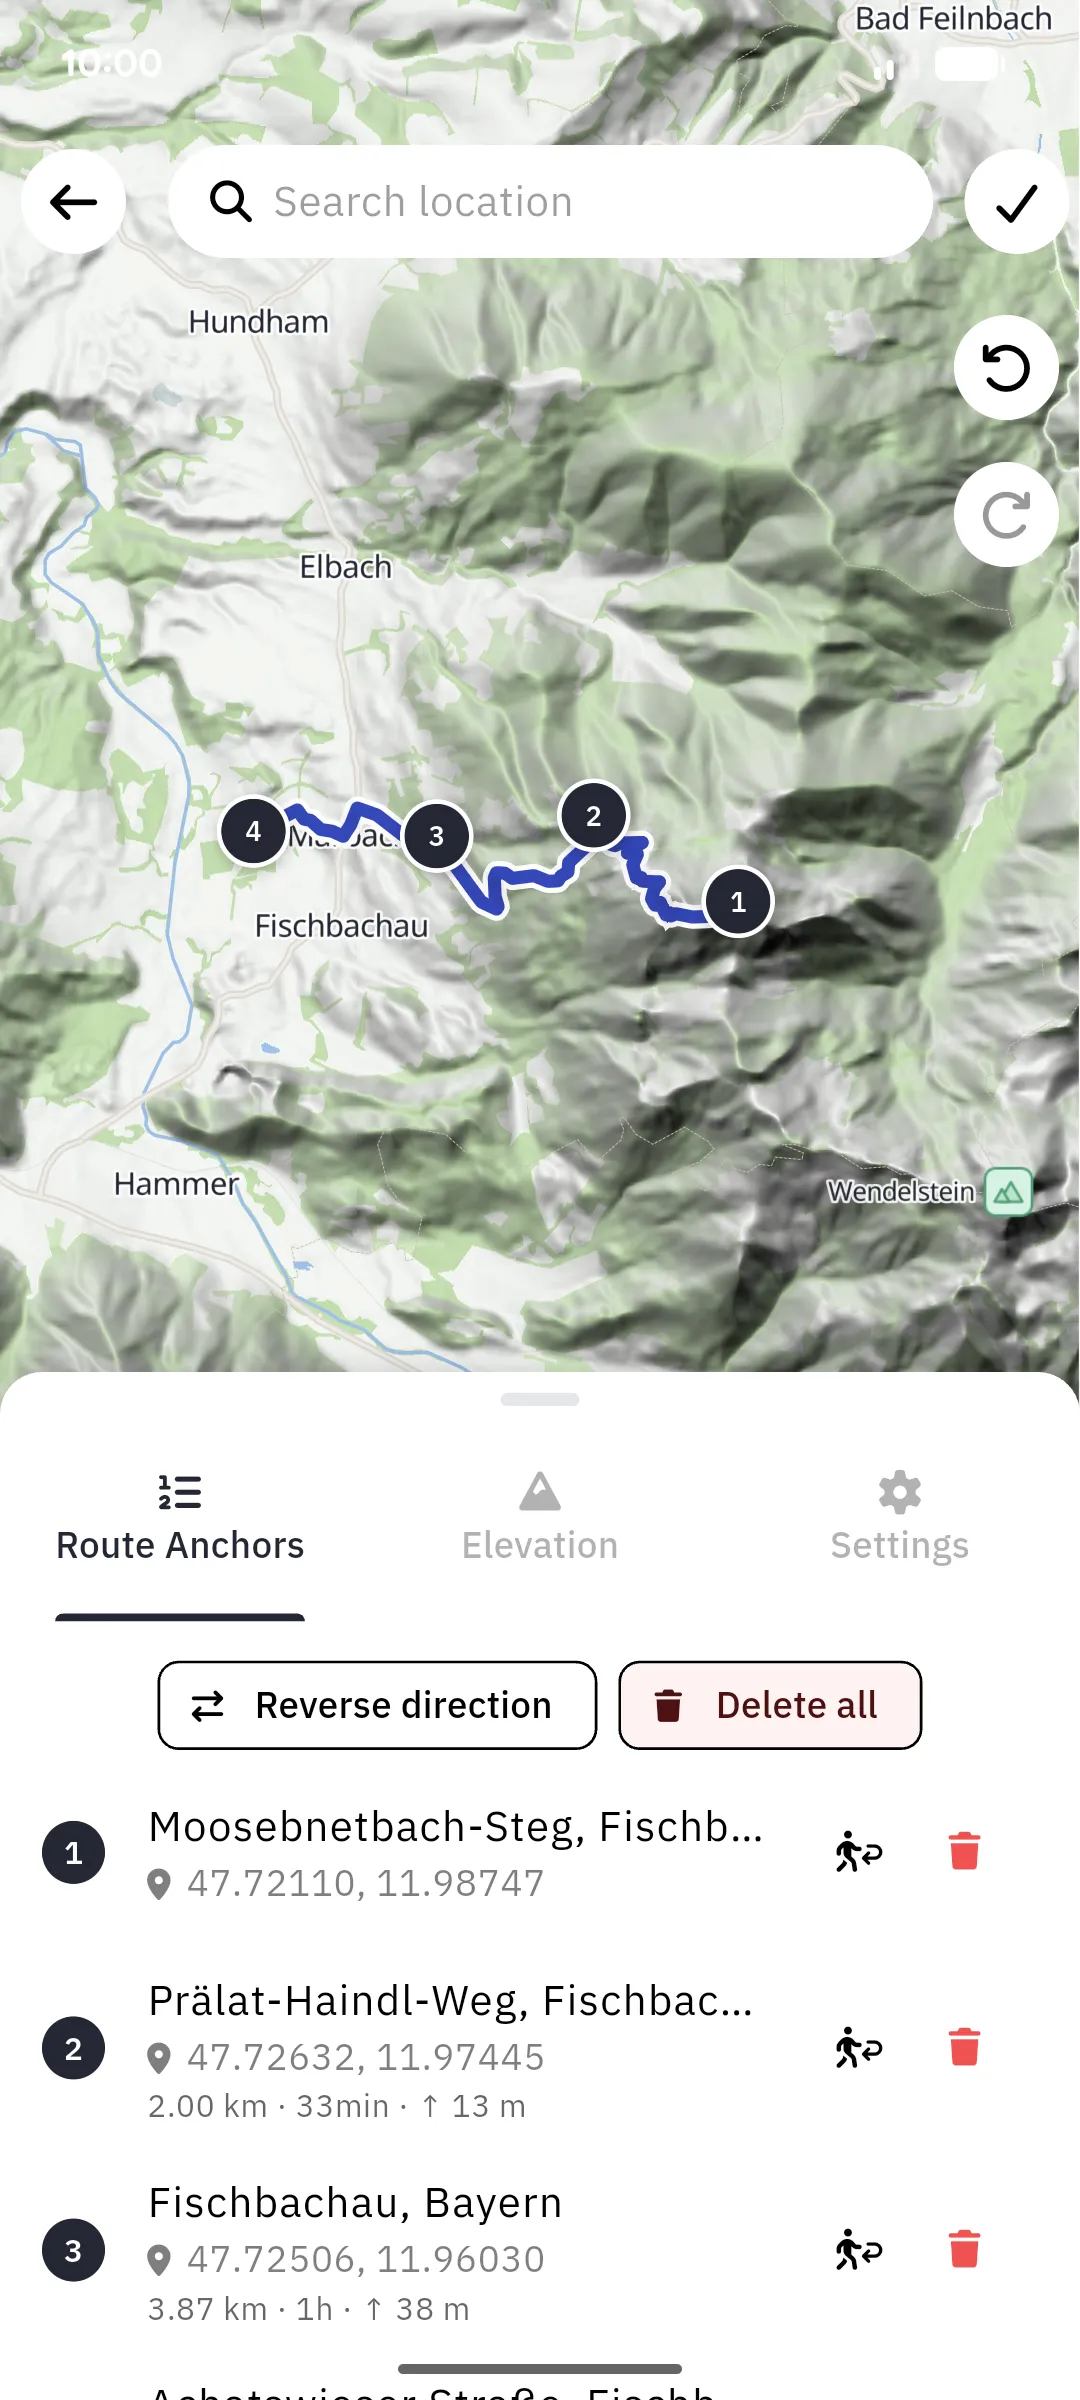
Section titled “Drawing a route”Tap the map to set anchor points. The planner automatically routes between them along suitable paths for your travel profile. Use the search field to jump to a location, and the undo/redo buttons to step back and forth through your edits.
The Route Anchors tab lists every anchor with its location and the distance, duration, and ascent of the leg leading to it. From here you can delete individual anchors, press and hold one to drag it into a new order, Reverse direction, or Delete all and start over.
Turn off Auto-routing in the Settings tab to connect anchors with straight lines instead, useful where there is no mapped path, for example across open terrain.
Elevation
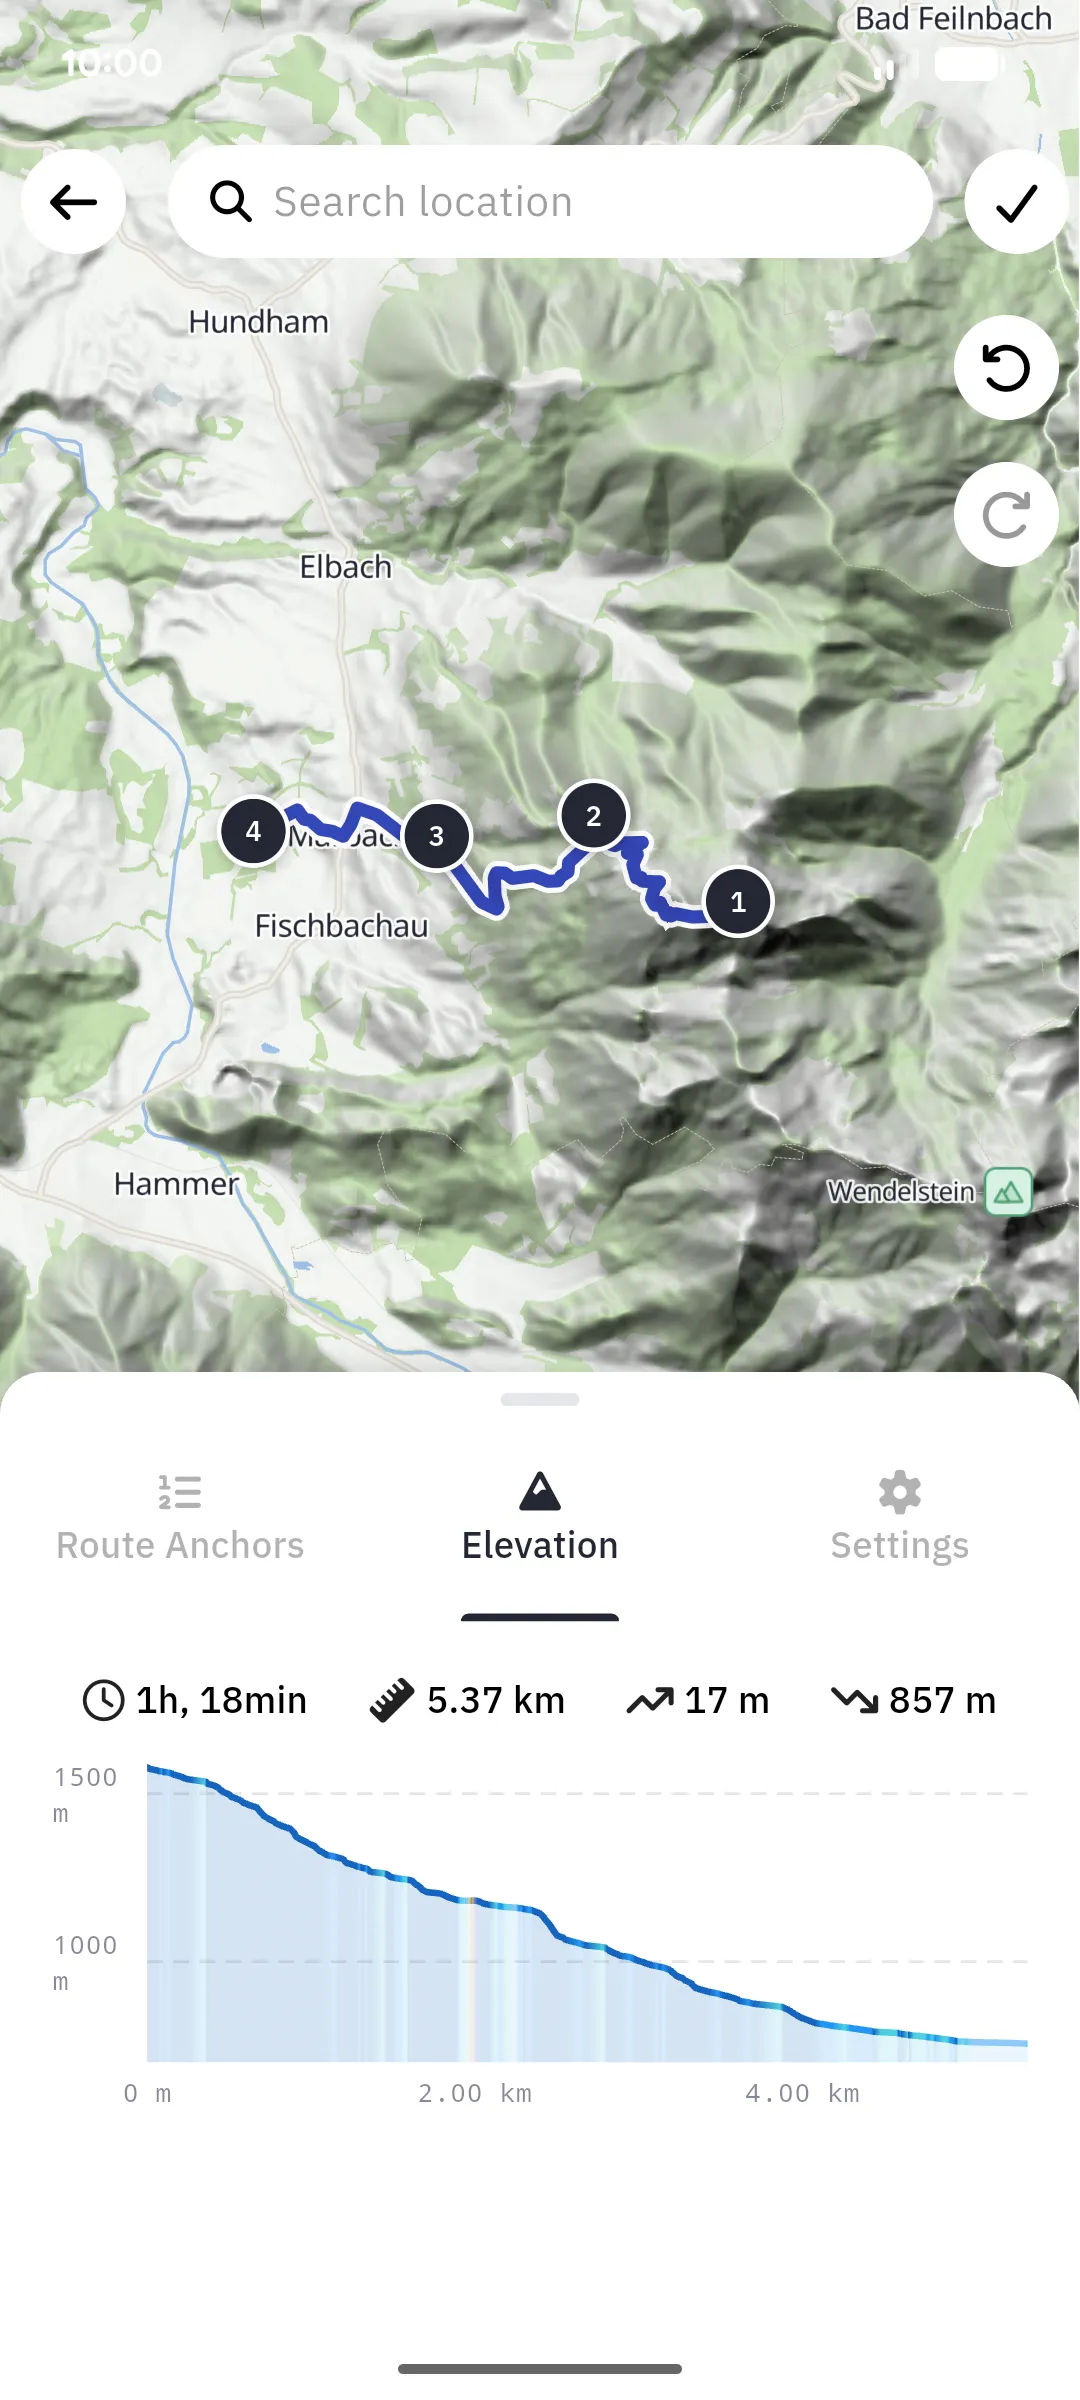
Section titled “Elevation”The Elevation tab shows the elevation profile of the route as planned, together with its total duration, distance, and elevation gain and loss, so you can judge the effort before you ever set out.
Finishing
Section titled “Finishing”Once the route has at least two anchors, tap the checkmark in the top right. The trail editor opens with your planned route, where you add a name, description, category, and other details before saving it as a trail, ready to be navigated or shared.
To change the route of an existing trail of yours, open it, choose Edit, and tap Edit route in the editor; the planner opens with the trail’s route as anchors.