

App settings
Open the settings via the gear icon on your profile. Account-related settings are synchronized with your instance: a change made in the app also applies on the web, and vice versa. Only Appearance is stored on the device. While you are offline, settings are shown but can’t be changed.
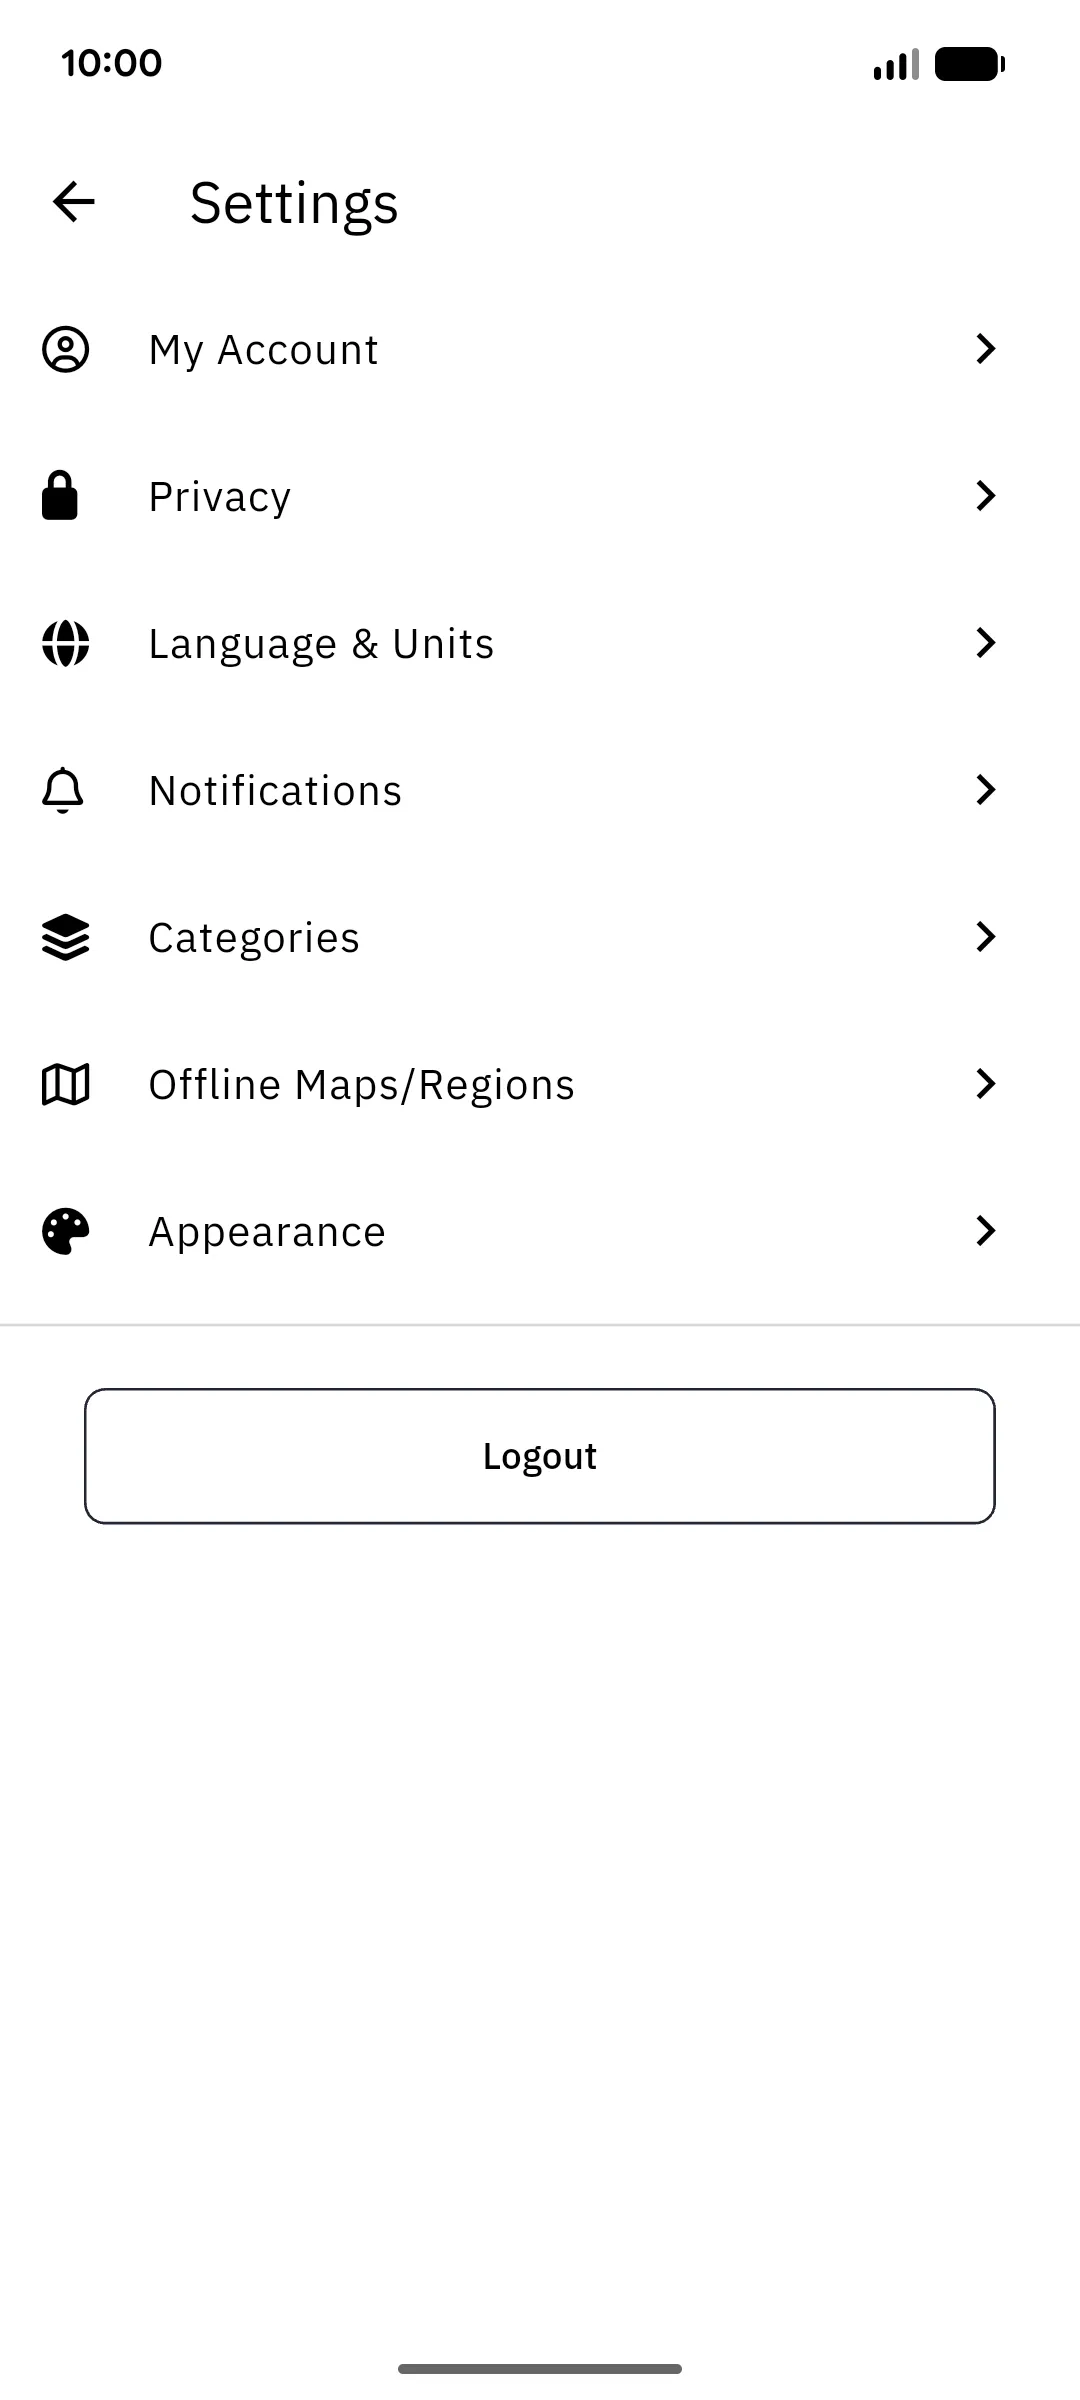
The screen is split into seven sections, with Logout at the bottom:
- My Account: avatar, bio, email, password
- Privacy: who can see your profile, trails, and lists
- Language & Units: app language, metric or imperial
- Notifications: which events reach you on the web and by email
- Categories: reorder or hide trail categories
- Offline Maps/Regions: manage downloaded map data
- Appearance: light, dark, or follow the system
My Account
Section titled “My Account”Manage your account: change your avatar and bio, update your email address or password, and, if you must, delete your account. Deleting your account removes it and all your trails from your instance and cannot be undone.
Privacy
Section titled “Privacy”Control who sees what:
- Account privacy: a public profile appears in search results and can be followed; a private profile is visible only to you, while you can still publish individual trails or lists.
- Default trail visibility: whether newly created trails start out public or private.
- Default list visibility: the same for lists.
Visibility of individual trails and lists can always be changed later, per item.
Language & Units
Section titled “Language & Units”Choose the app’s language and switch between metric and imperial units. The unit setting applies everywhere: trail stats, navigation, elevation profiles.
Notifications
Section titled “Notifications”Choose which events notify you (new followers, comments, summit logs on your trails, trail shares, mentions, and more), separately for notifications shown on the web and sent by email.
The app itself does not send notifications to your phone. These switches control what you see in the notification inbox on the web and what lands in your mailbox.
Categories
Section titled “Categories”Personalize your instance’s trail categories: press and hold a category to drag it into a new position, and switch off categories (and their subcategories) you don’t use. A switched-off category disappears from filters and pickers; your trails in it stay published. If you still have trails in a category you switch off, the app asks for confirmation first and lets you jump straight to those trails.
Offline Maps/Regions
Section titled “Offline Maps/Regions”Manage your downloaded map regions; see Offline use.
Appearance
Section titled “Appearance”Switch between Light, Dark, or Follow system. This choice is per device and isn’t synchronized.
Log out
Section titled “Log out”Logout at the bottom of the settings signs you out and returns you to the welcome screen, where you can pick another instance or log in with a different account.
Trails you recorded or imported that haven’t uploaded yet are not deleted when you log out; the app warns you how many there are. They stay on the device and upload once you sign back in to the same account.