

Record a trail
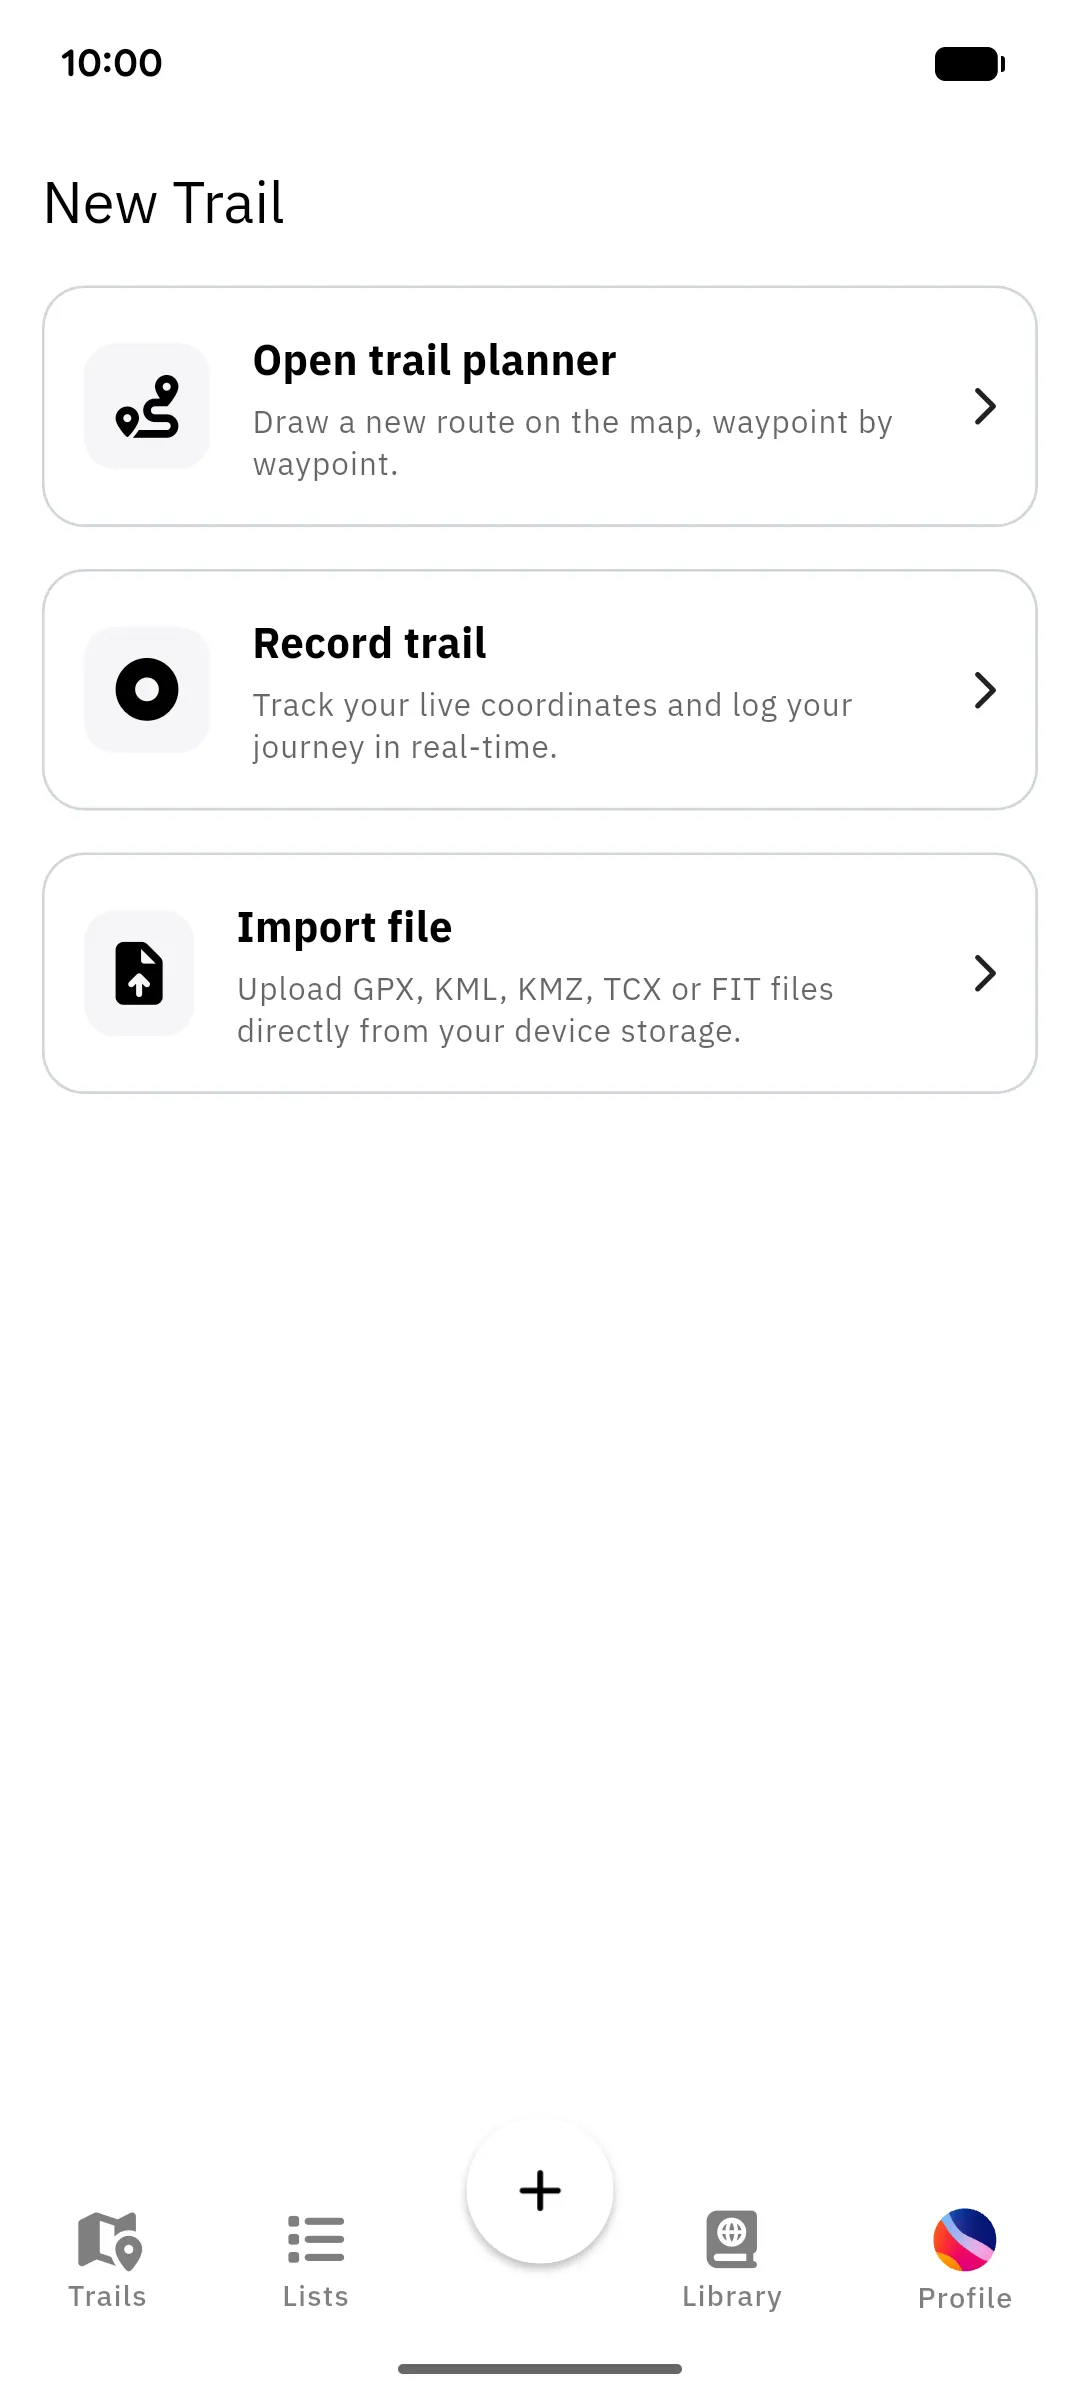
Tap the plus button in the middle of the bottom bar to open the New Trail screen. You can choose between three sources:
- Open trail planner: draw a new route on the map (Plan a route); needs a connection
- Record trail: track your live position and log your journey in real time
- Import file: load a GPX, KML, KMZ, TCX or FIT file from your device storage (see Importing a file)
Recording
Section titled “Recording”Choose Record trail and pick a travel profile: Hiking, or one of the biking profiles (Biking / Hybrid, Mountain, Cross, Road). The profile pre-selects the trail’s category when you save and, if you choose Follow roads, decides whether the track is snapped to footpaths or to cycling routes.
Allow location access in the background
Section titled “Allow location access in the background”A recording should keep going while your screen is off or you use another app. For that, the app needs permission to use your location in the background. A normal “while using the app” permission is not enough and the recording will stop when the screen locks.
- Android can’t grant this from within the app. The first time you record, the app explains this and offers to open the system settings. There, choose Permissions → Location → Allow all the time. If you skipped the prompt, open your phone’s Settings → Apps → wanderer → Permissions → Location and set it to Allow all the time yourself; the app only asks once.
- iOS shows a system prompt asking to change location access to Always. Choose Change to Always Allow.
A persistent notification (“Recording your trail”) shows that location tracking is active.
While recording
Section titled “While recording”The screen shows your track on the map along with live stats: distance, elevation gain and loss, speed, average speed, and time in motion. You can pause and resume at any time, and leave the recording screen; an active recording survives app restarts. If you open the app while a recording is running, it asks “Resume recording?”; choose yes to get back to it.
Saving
Section titled “Saving”Tap the stop button and the app asks “Stop recording?”:
- Cancel keeps recording.
- Exit stops and discards the recording; there is no undo.
- Save track stops and continues to the save options below. It only appears once you have recorded enough to be worth saving.
The Save recording options let you polish the track before it becomes a trail:
- Follow roads: snap the recorded path to the nearest roads and trails
- Recalculate heights: replace recorded GPS elevation with more accurate values from the map
Both run on your instance, so they are only offered while you have a connection. Afterwards, the trail editor opens where you add a name, description, category, photos, and waypoints before saving.
Recording offline
Section titled “Recording offline”Recording works entirely without a network connection. The recording and the finished trail are stored on your device first and appear in your Library. As soon as your instance is reachable again, the app uploads the trail automatically; the sync status chip on the trail shows the current state (“Waiting to upload”, “Uploading…”, “Upload failed · Tap to retry”).
Two things are different offline:
- The Save recording options are skipped; the track is saved exactly as recorded. You can still edit the trail later.
- Until the trail has uploaded, its detail page only offers Edit; navigating and downloading become available once it is on your instance.
To also have a base map while recording offline, download the region beforehand; see Offline use.
Importing a file
Section titled “Importing a file”Import file opens your device’s file picker. GPX files are read directly on the device and work offline. KML, KMZ, TCX and FIT files are converted by your instance first, so they need a connection. Offline, the app tells you “Only GPX files can be imported offline”.
After the file is read, the same two options as above appear under the name Adjust track (again only while online), and the trail editor opens with the imported route.